
Mercedes C-Class W205 Ambient Lighting: Complete Retrofit & Installation Manual
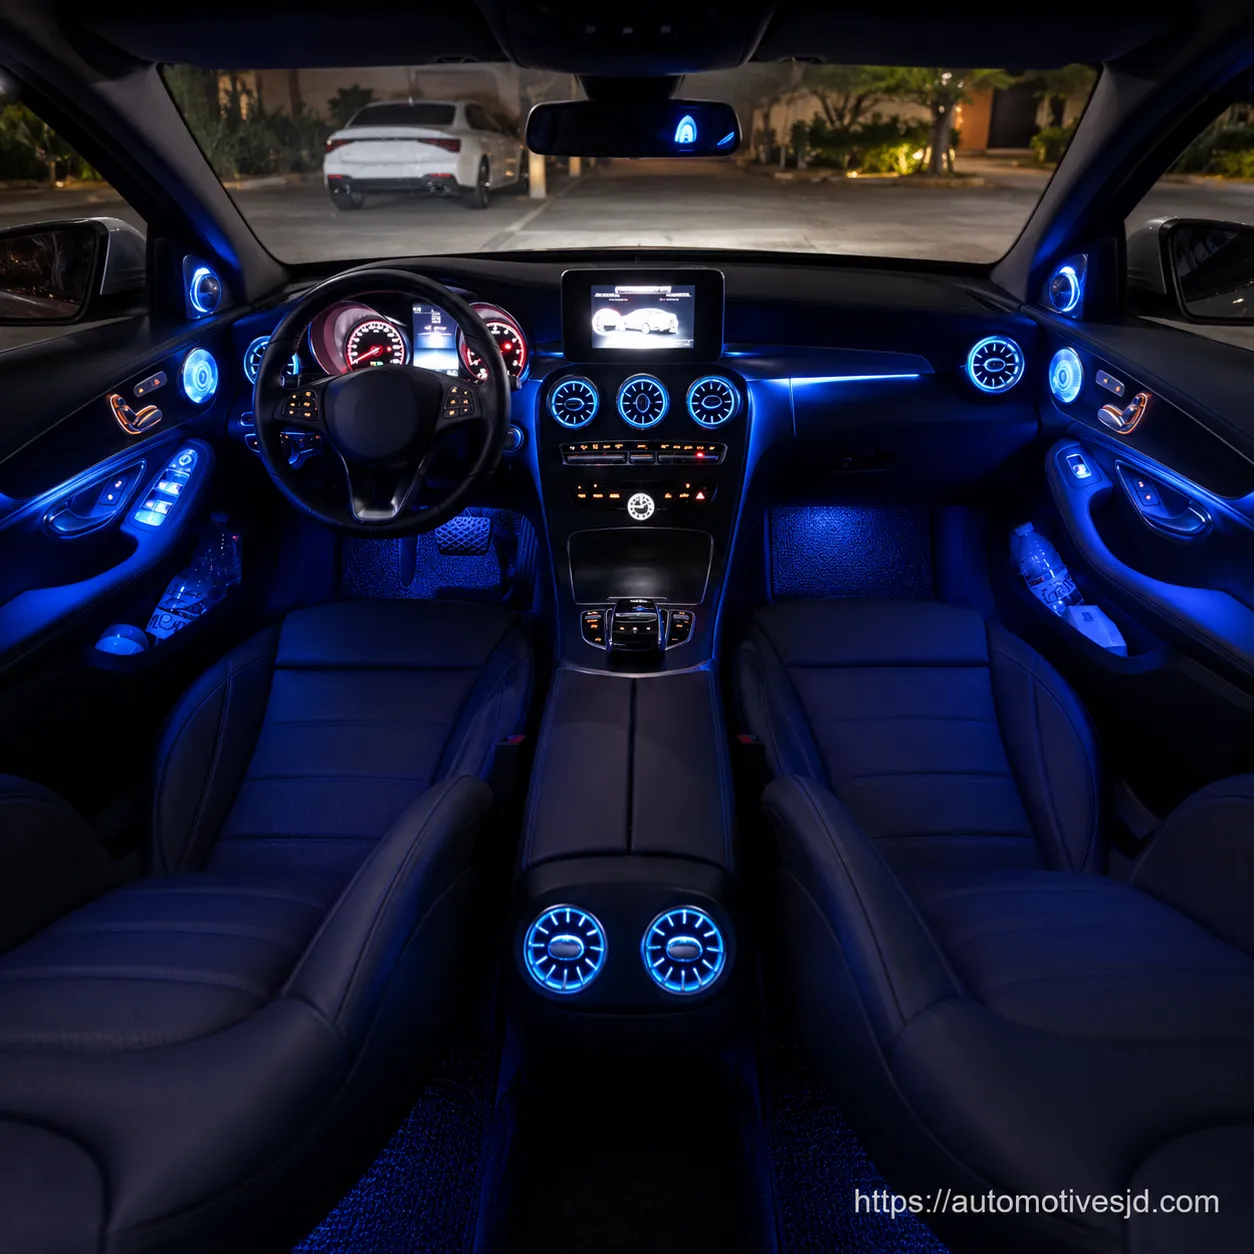
Upgrading your Mercedes-Benz C-Class (W205 2015–2021) from factory 3-color or no-lighting to a synchronized 64-color ambient light system is one of the most rewarding interior retrofits. Below is our verified technical walkthrough covering door panels, turbine air vents, and Burmester-style speaker covers.
Required Installation Tools
- Torx Screwdrivers: T30 (Door panels) and T20 (Center console)
- Plastic Trim Removal Pry Tools
- Mercedes AC Vent Removal Pull-Hooks
- Soldering Iron or Hot Glue Gun (for securing light guides and speaker brackets)
Step-by-Step Installation Walkthrough
Pry off the small plastic trim cover inside the door handle to access two T30 screws. (Note: C-Class Coupe models have an additional T30 screw behind the interior door handle). Disconnect the door control module wiring connectors and remove the door card.
Melt off or trim the factory plastic solder joints on the door plaque. Install the custom optical light guides and re-weld with a soldering iron.
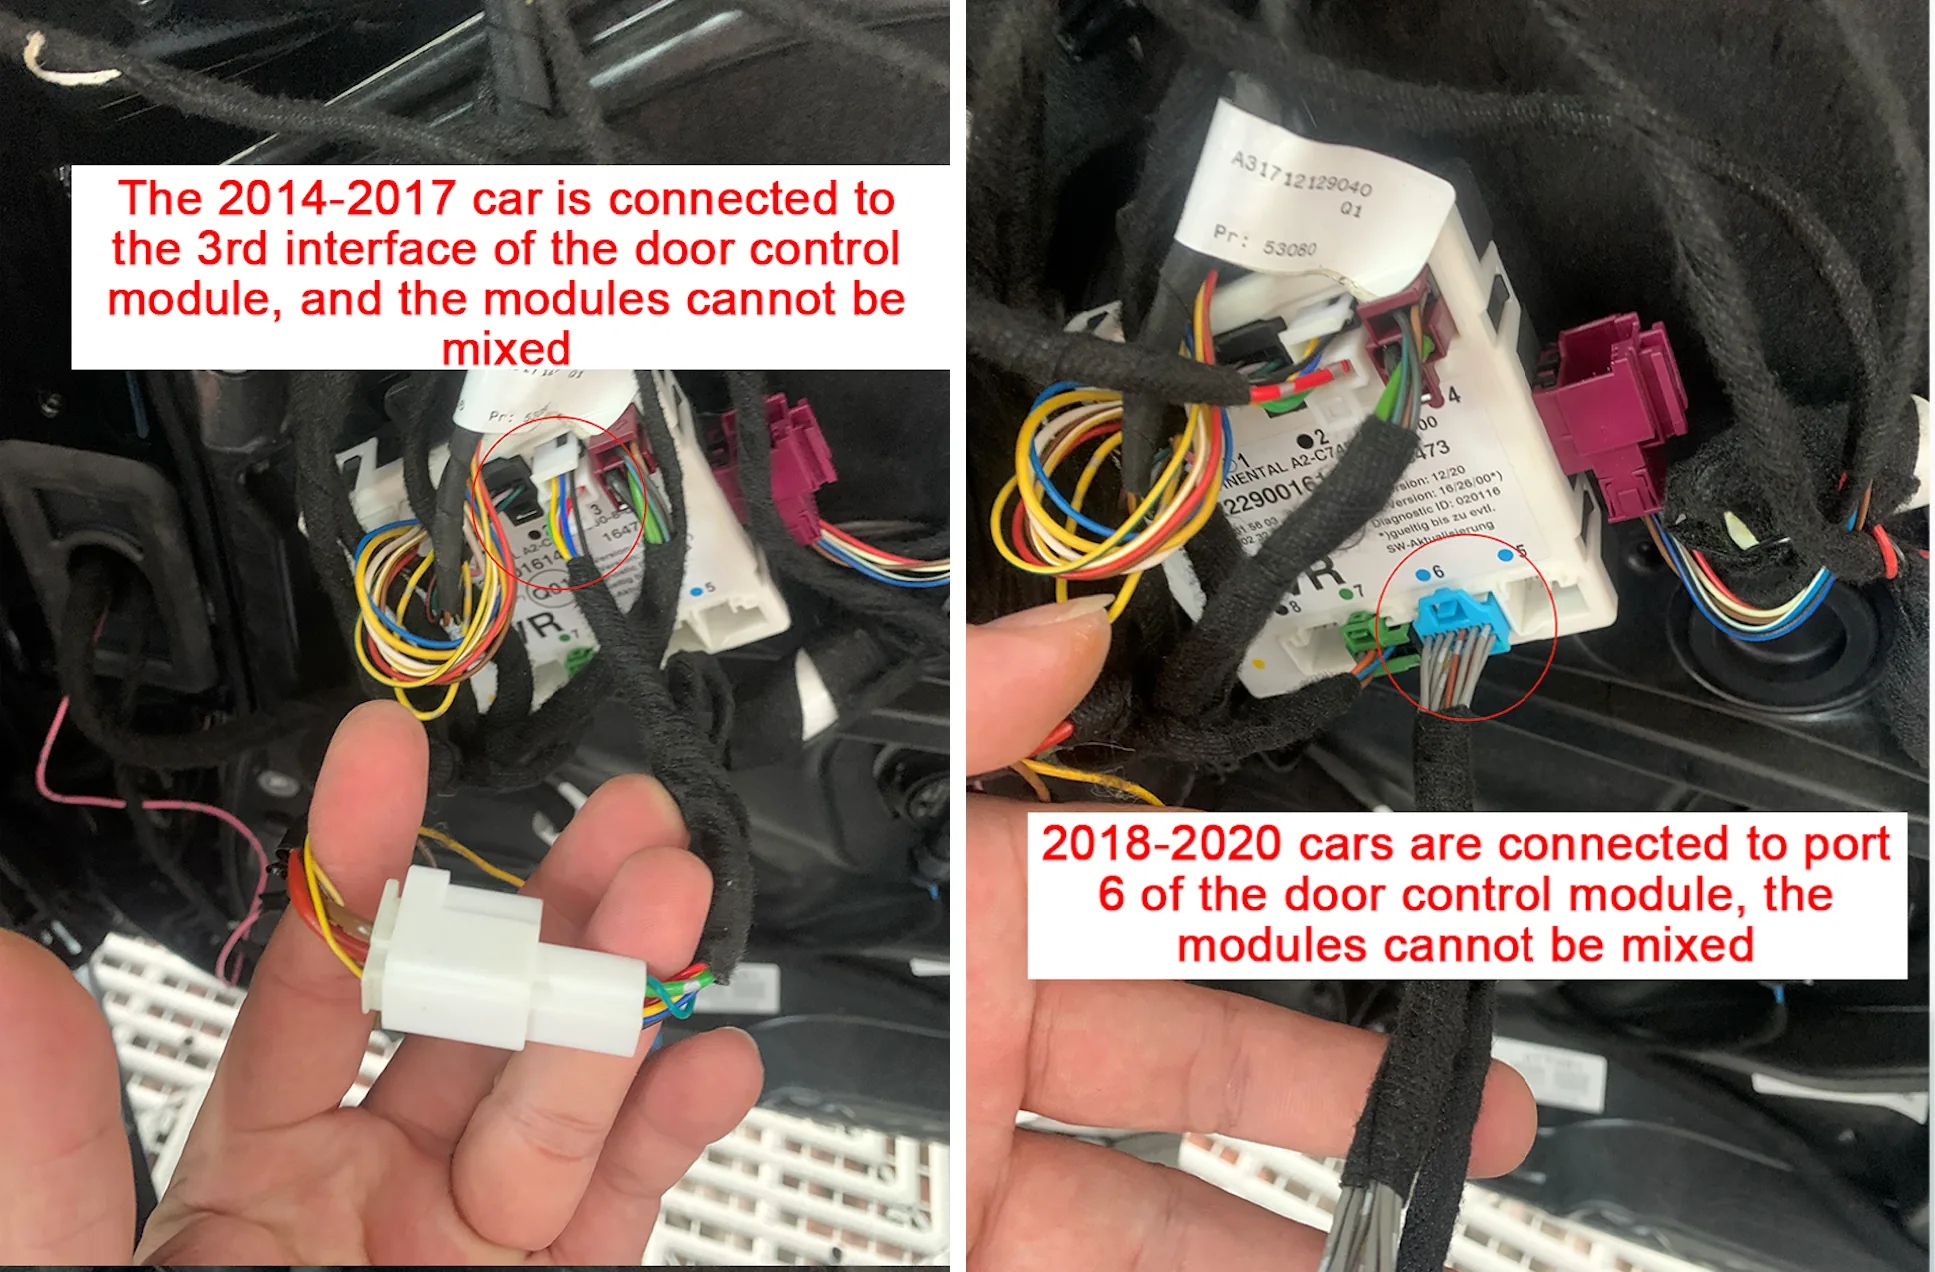
• 2014–2017 Pre-Facelift Models: Connect adapter harness to Port #3 on the door control module.
• 2018–2020 Facelift Models: Connect adapter harness to Port #6 on the door control module. Never mix modules!
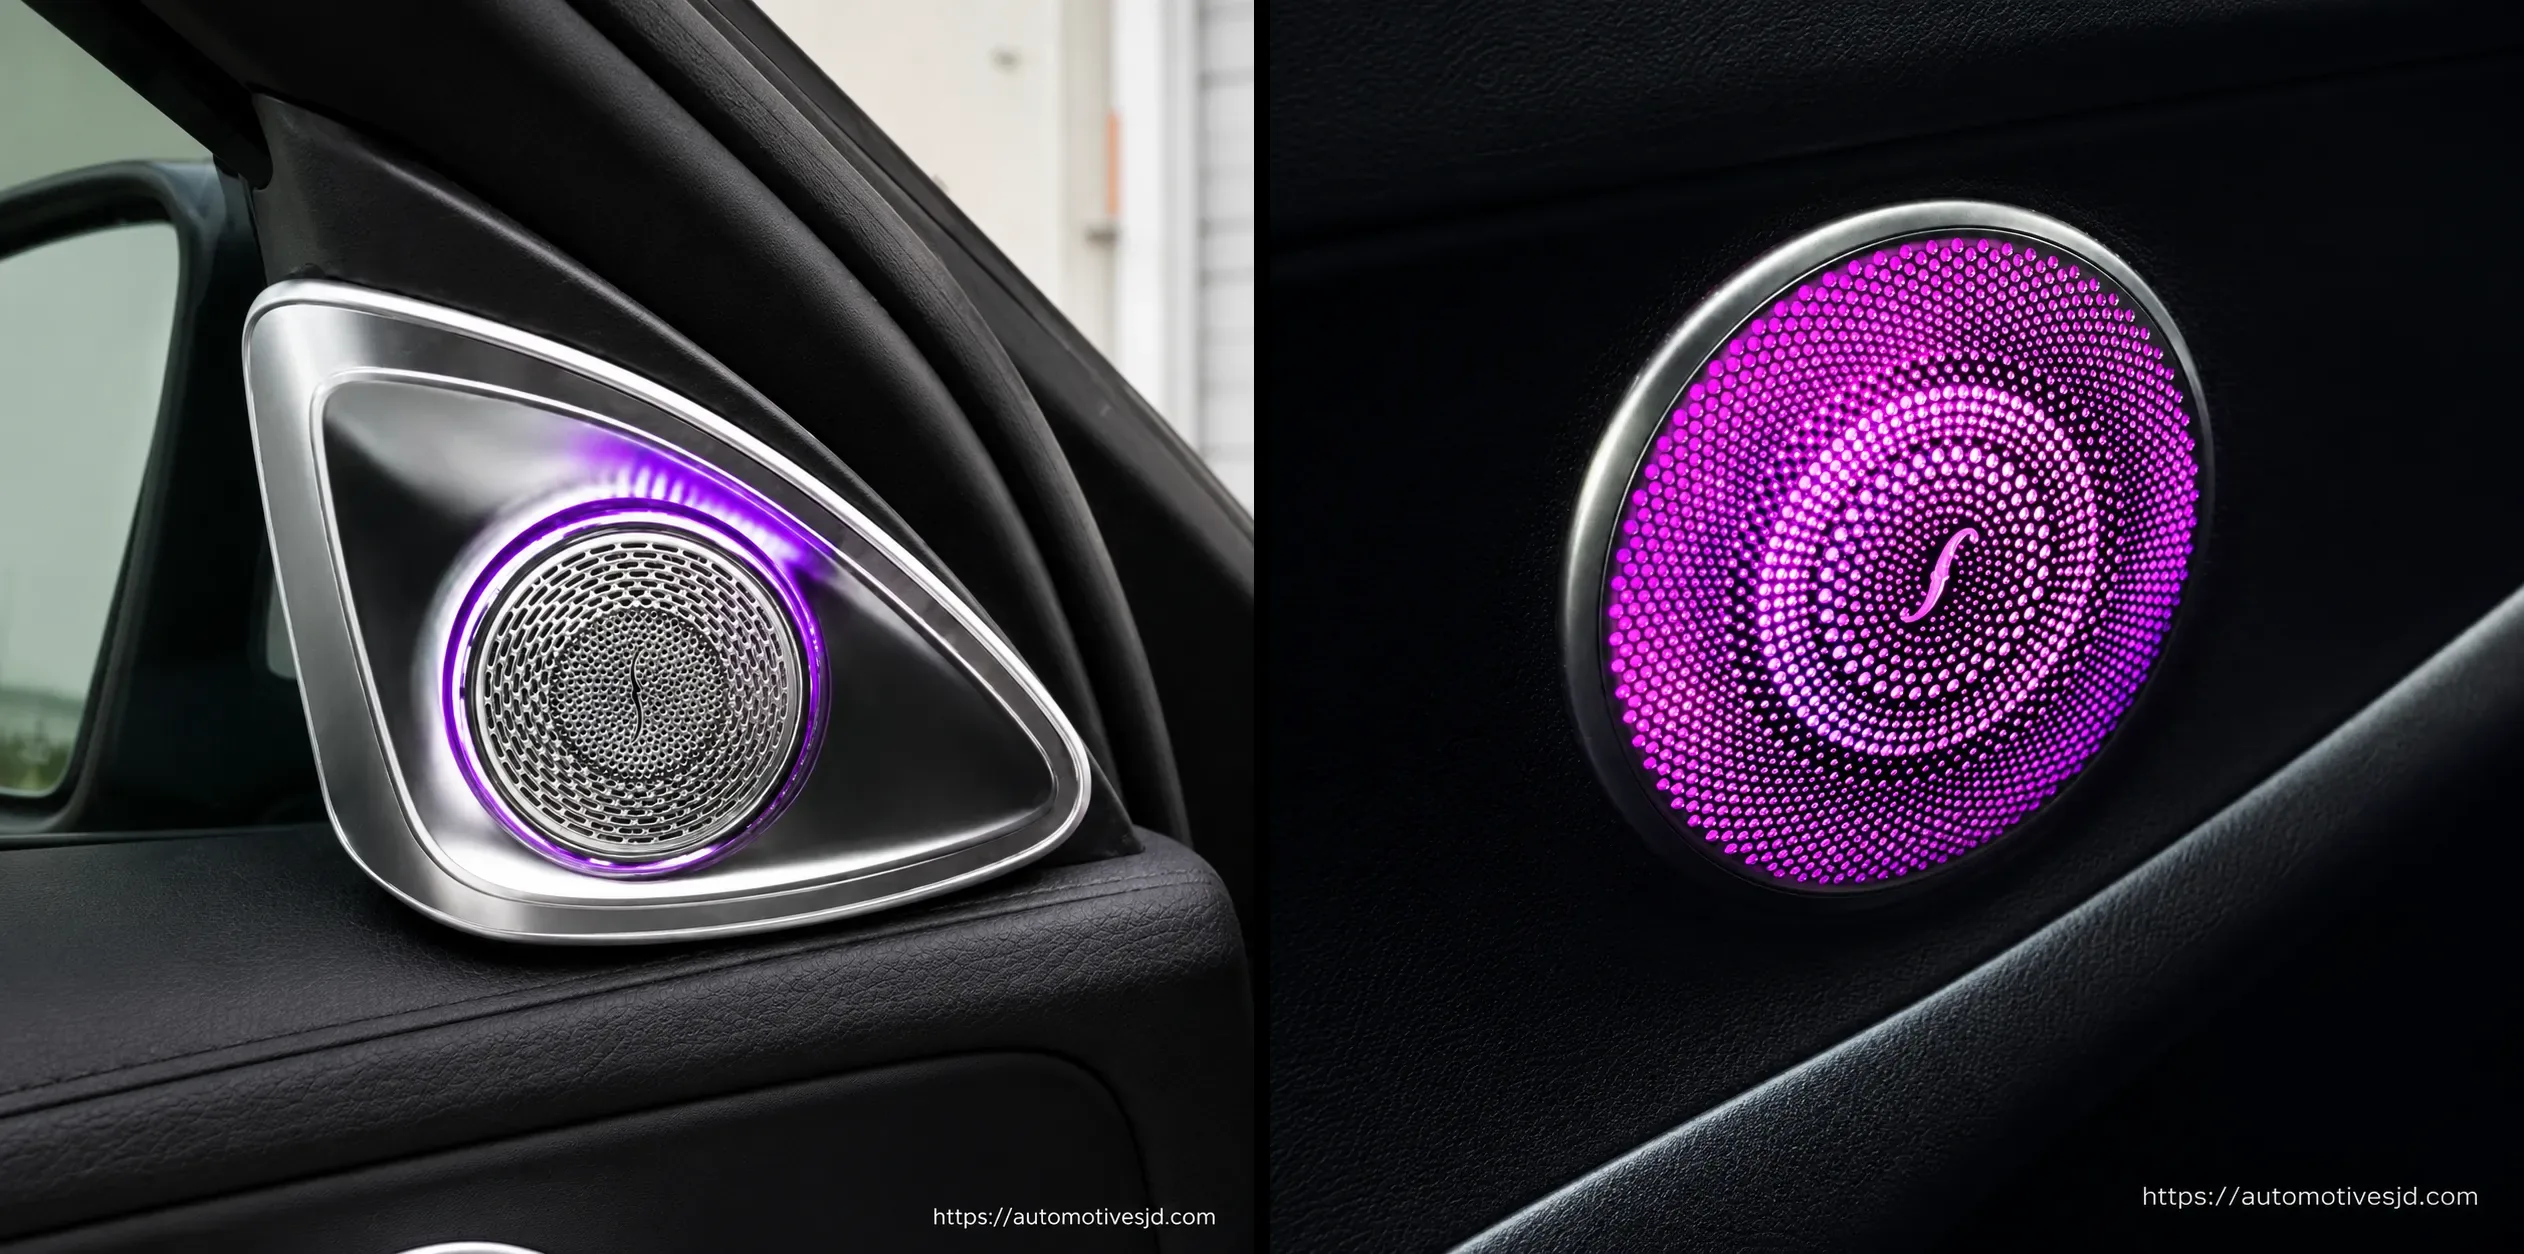
Pry out factory plastic speaker covers. Align the replacement Burmester metal cover with the clef logo facing forward, then press firmly until all clips lock. Snap in the LED bracket with the "TOP" mark facing upwards and secure the edges with hot melt glue.
Replace the triangular A-pillar corner plastic trim with the motorized rotating tweeter assembly. Route the harness through the factory rubber grommet into door control module Port #6.
Center Console: Pry off the silver side trim pieces around the touchpad, unscrew two T20 screws, and lift the console saddle. Plug the ambient light harness into the factory circuit.
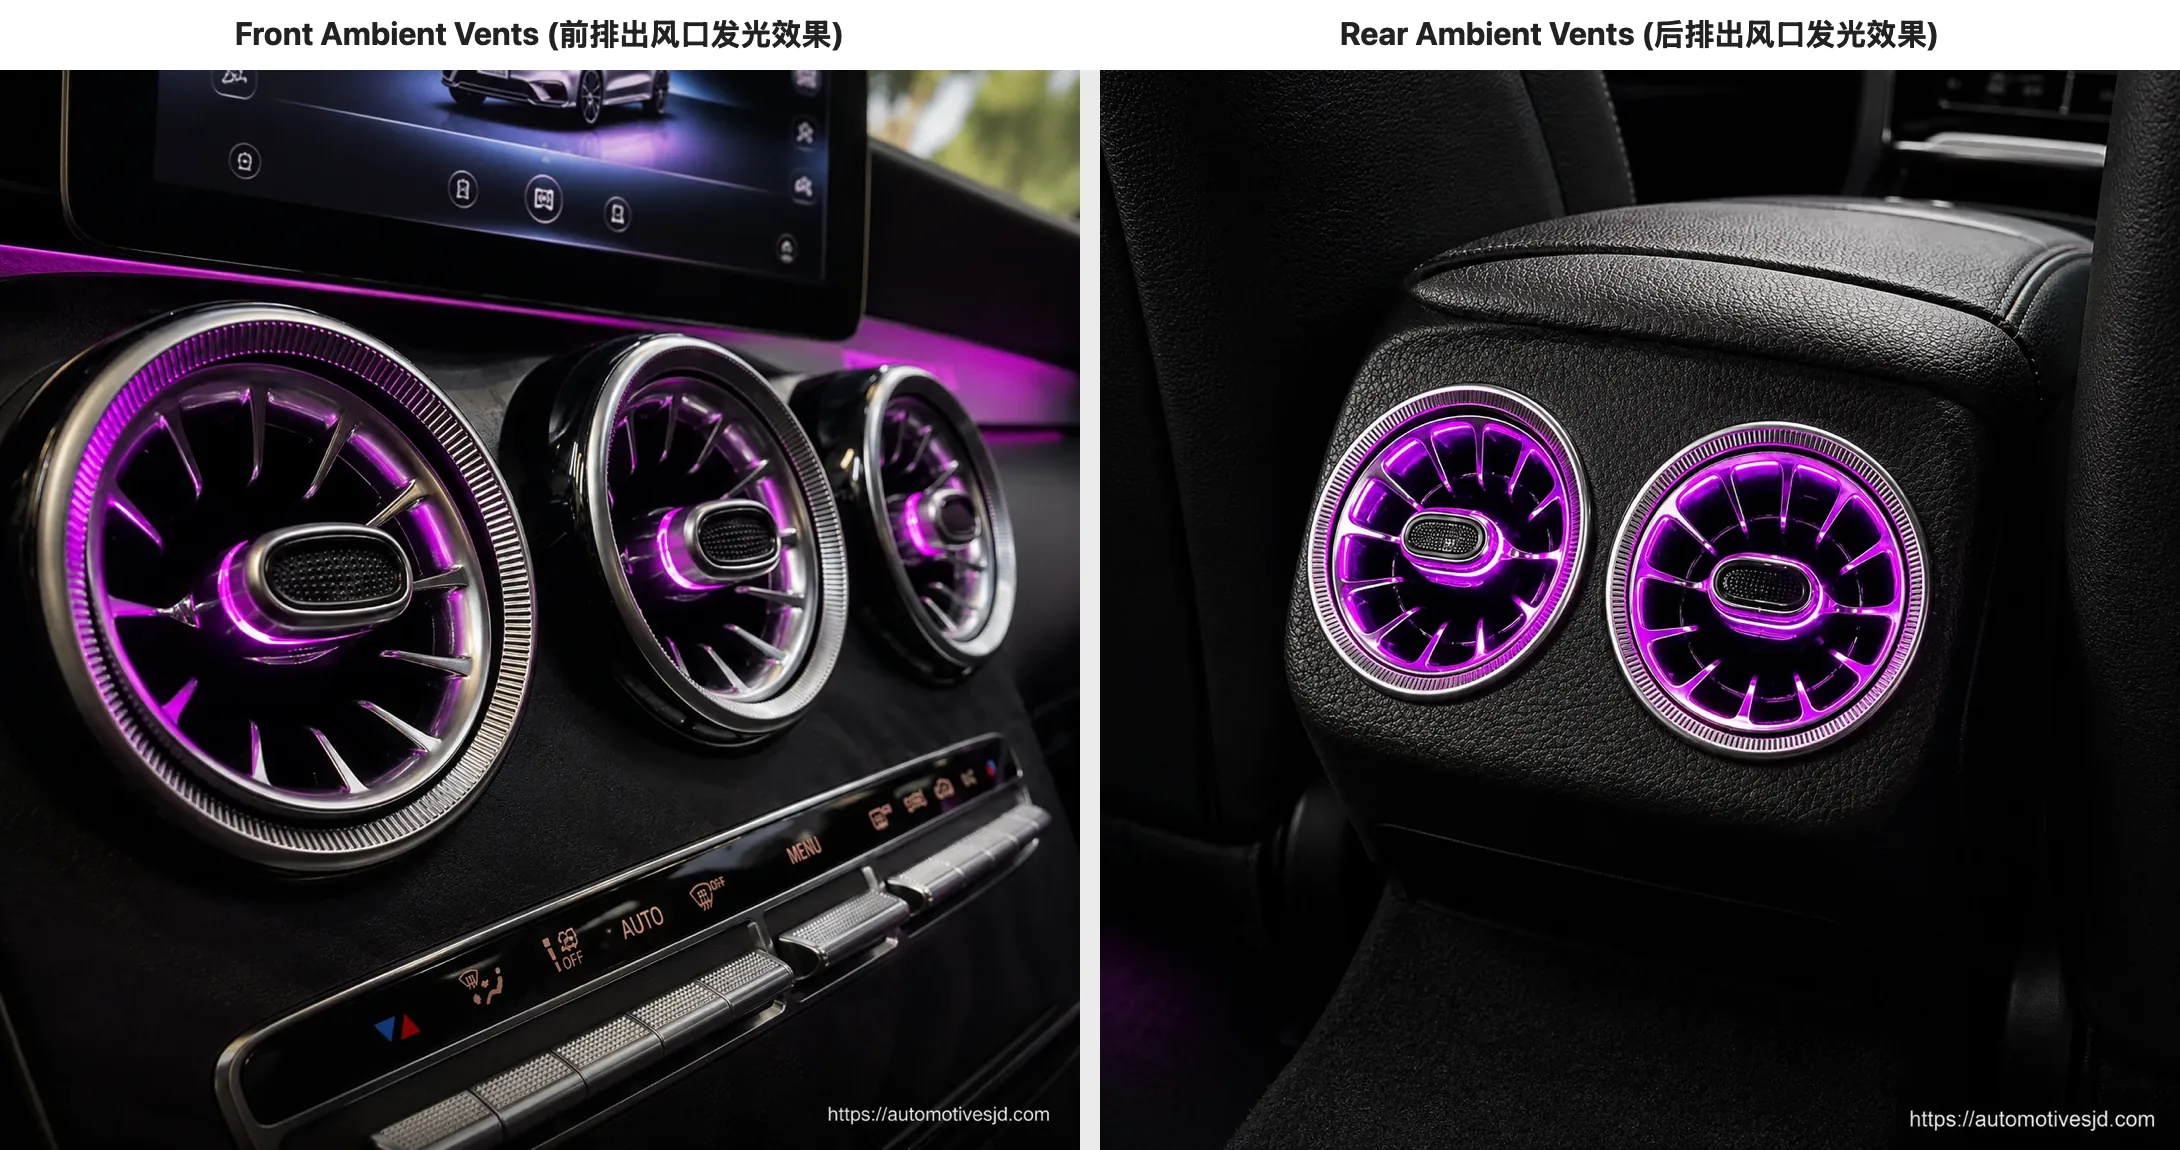
Front Air Vents: Use vent pull-hooks to pull out factory vents without screws. Transfer the black outer rings to the new turbine vents, insert the LED holder with "TOP" facing upwards, and push back into the dashboard.
Rear Vents: Pry off the rear console trim, transfer the original vent wheel switch, and route the extension harness along the side of the center console.
Insert the dedicated OBD activation adapter into the vehicle OBD-II diagnostic port beneath the steering wheel. Switch ignition to ACC ON. Wait 15 seconds until the instrument cluster confirms programming. The factory 64-color ambient light menu with multi-zone brightness will appear on your central screen.
Direct Technical Support: support@automotivesjd.com | WhatsApp: +86 198 6266 1261